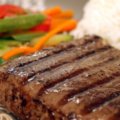
Do you love a good steak? I know I do! There is nothing quite like the aroma of a steak with all its juicy tenderness hidden behind a perfectly crisped layer of meat.
But all my steak fetishes had to come to a complete stop when I moved out of my home and took a loft downtown. I had an electric oven for sure, but it didn’t have a broiler pan, and I thought that was the end of that.
Until one day, a friend of mine showed me how to broil steak without a broiler pan. I immediately learned his way from him and then added a few of my flavors and tricks to prepare a finger-licking recipe, which I will share with you.
What Is Broiling?
If you have never set foot in your kitchen like me, you might not even know what broiling is. So let me explain what broiling is.
Broiling is just grilling; you cook meat by exposing it to a heat source (like grilling meat over a fire). The difference here is when grilling is situated at the bottom of the meat, whereas the heat source in broiling happens to be at the top.
Another key difference is the temperature range – broiling happens at about 550 degrees tops, whereas grilling can be much higher. Regardless, you still have to keep flipping over your meat to make sure it doesn’t char on one side.
Lastly, many people prefer the smoky flavor that grilling adds to the meat, but some don’t. If you don’t like your meat smelling like burnt wood, you’re better off broiling.
What Is A Broiling Pan?
You don’t need a pan for grilling, but you certainly do need one for broiling because the heat is coming from above in this case.
A broiling pan is a tray made from steel with two parts: a part for broiling and the other which acts as a lid. The broiling tray has got these fish-like scales or slats on it. They let in the air while cooking so that your meat cooks evenly everywhere.
The funny thing is that many electric ovens come with a broil option but no pan to broil stuff in, which was the case with my oven. I thought: all right, that means I have no way to use the option unless I go out and buy a pan, and that was always a problem (I procrastinate a lot).
But what my friend’s method taught me was that you don’t need utensils to cook. Humans have been cooking meat for 800,000 years, and the Neanderthals surely didn’t have all these fancy ovens and broiling pans that we have today.
The idea is elementary – you already have the mechanism to heat your meat from the top in the oven. All you need is to let loose the Mcgyver in you.
What You Will Need
These are the instruments you will need:
- An electric oven with the option to broil
- A roasting pan
- Baking sheet/tin foil
- Temperature probe
- Tongs
- Paper towels
And to prepare the dish, these are the food items that you will need:
- An 8oz chicken
- Ground pepper
- Salt
- A bit of oil
- Barbeque sauce
Step by Step Instructions
Preheat the Oven
Most electric ovens take between five to ten minutes to heat up, which gives you time to do a bit of preparation with the meat.
If your oven does not have a broil option, don’t worry. Just set it to about 550 degrees and let it preheat.
Leave the door open a crack to avoid overheating and triggering the automatic shut-off.
Prepare the Meat
Now, please take out the meat from the refrigerator, and pat it dry. Make sure no moisture remains on the surface. Moisture does not let your meat become brown. Taking the meat directly from the fridge gives it a bit more time to become brown.
Next, I like to cut out the skin and add a bit of salt for flavoring. Remember not to add pepper at this stage, as it will get burnt in the process. You can also add a bit of oil or butter to get that extra seared meat.
I also add a few tiny cuts on the side of the meat. It lets the steak get crispy from the inside, and the seasoning gets absorbed in the meat.
Prepare Your Pan
A roasting pan is a great substitute for a broiler pan; all you need is to lightly oil or grease the pan, and then place the pieces of meat as far away from each other as you can.
Many roasting pans come with a lid, but if yours doesn’t you can always cover it with aluminum foil.
Place the Pan
Now you can go ahead and put the pan in your oven. Make sure to put the pan on the top shelf. The distance between the pan and the heating element should not be more than two or three inches.
For chicken, the pan should be at least four or five inches away from the heating element.
Broil!
Now, start the broiling process. As a general rule, you should turn over heavier meats and chicken after about 10 minutes. Remember to butter the side before you turn it, to prevent it from sticking to the pan.
You can use a meat probe thermometer and tongs to measure the temperature of the steak. For a medium-rare steak, the temperature inside should be about 145°F.
When you turn over the steak, keep in mind that the second side will sear much more quickly than the first one because the meat is already hot.
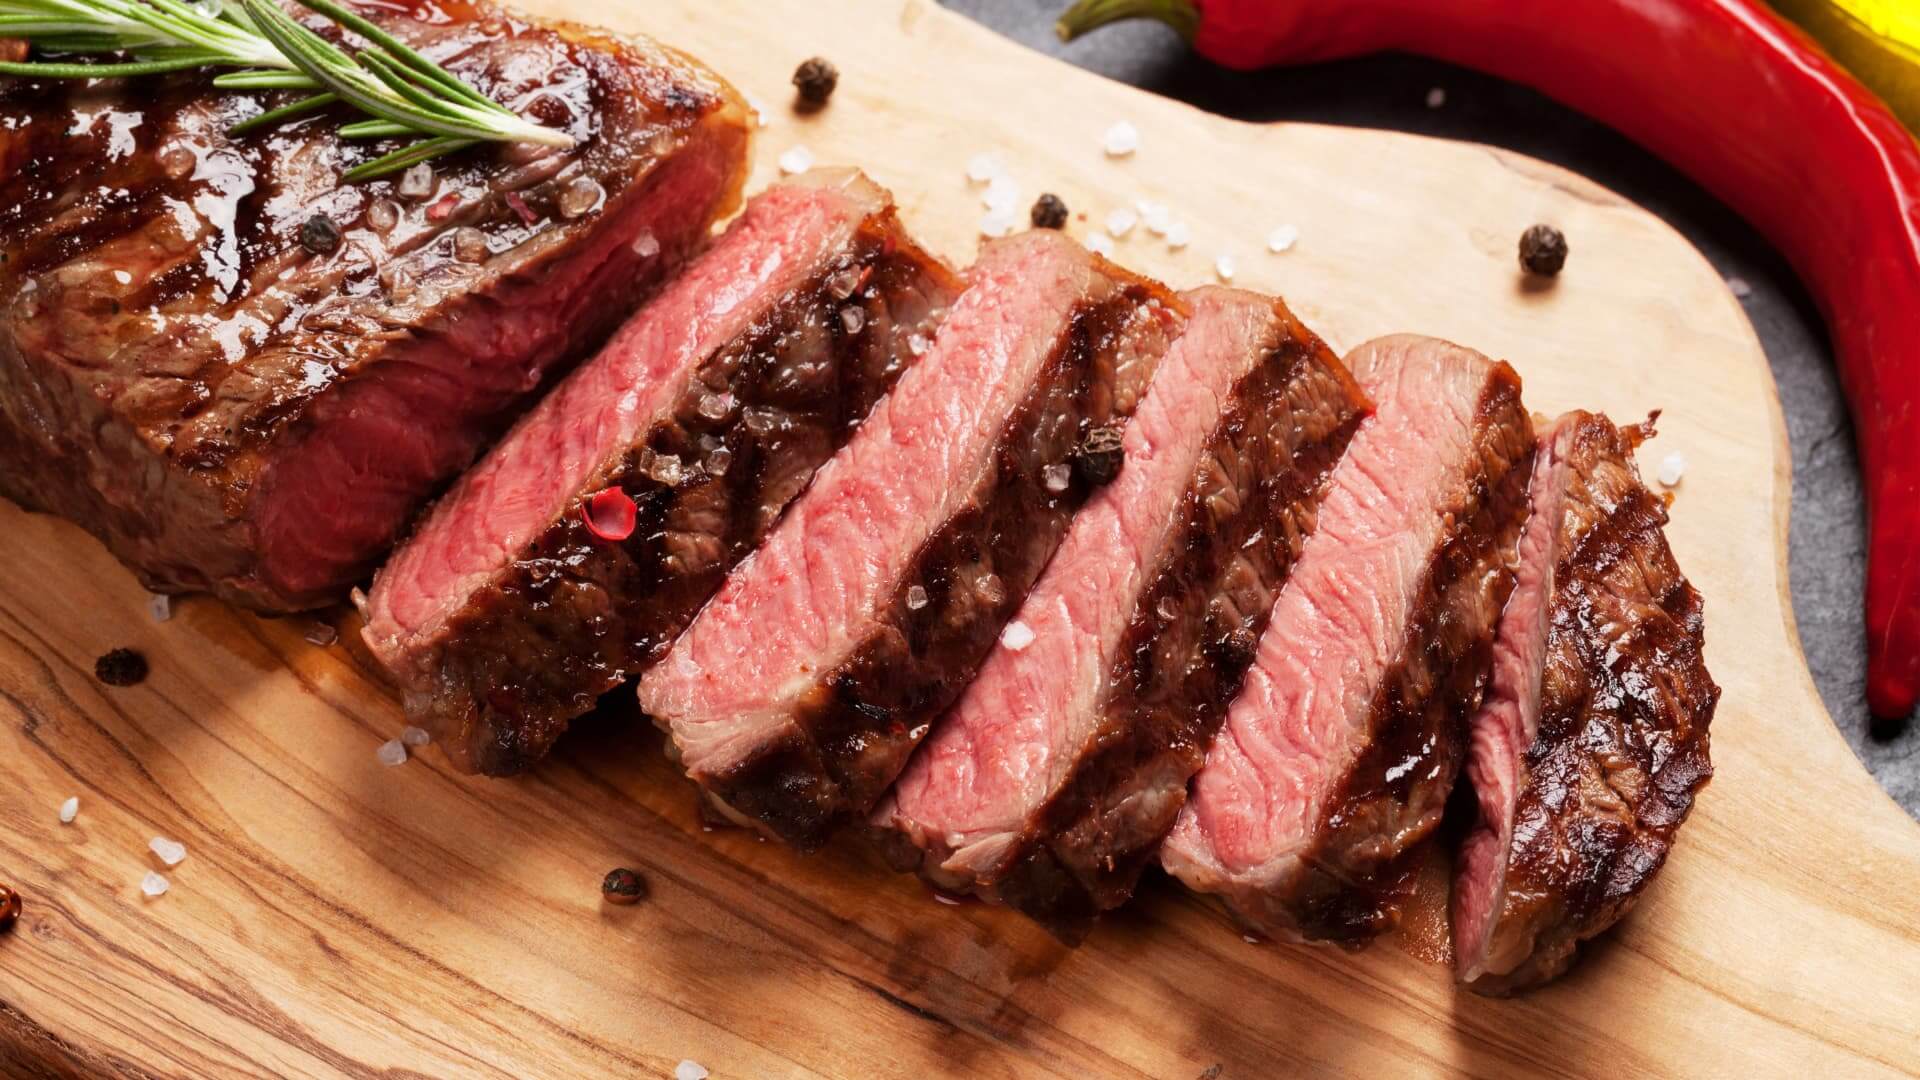
Checking the Steak
Checking the steak is the trickiest part. You have to keep checking visually whether the second side has the right color or not. The meat should become golden brown, losing all its pinkish color.
However, sometimes you might find that even though the steak looks done visually, it is still below the 145°F temperature on the inside. In that case, you might find the inside to be rare. If you like it that way, then it’s no problem!
If you want it to be medium done, you can continue heating the steak in the oven but at a lower temperature. Just change the mode from broil to heat and set the temperature to about 275°F. Probe the meat continuously to make sure it does not get burnt on the inside.
Note that the right temperature varies a bit. If you are cooking chicken thighs, you should be aiming for 180°F. For breast meat, 170°F is ideal, whereas if you are making patties, then I find 165°F is usually good.
Seasoning
Once the steak reaches about five degrees lower than the temperature you were gunning for, take it out from the oven. Now, you can season the steak.
To do that, make a simple sauce of wine or beer, and add a tablespoon of salt, a bit of black pepper, and garlic powder. Please put it on high heat in a pan and then put in the steak.
You are now ready to serve your delicious steak!
Tender But Crisp Chicken: Broiling Trick
If you are making chicken instead of meat, you can get a crispy cut on the outside with a tender and juicy chicken on the inside by following these steps:
- Bake your chicken, but stop the oven a few minutes before it’s fully done.
- Take it out, and put it in a broiler pan, roasting pan, or any of the substitutes that we will discuss below.
- Broil it for five minutes, and you’ve got yourself a perfectly tender but crisp chicken!
Broiler Pan Substitutes
I talked about a roasting pan above but didn’t go into why it is a good option. Secondly, there are other options apart from a roasting pan that you can use too. In this section, I will discuss all of this.
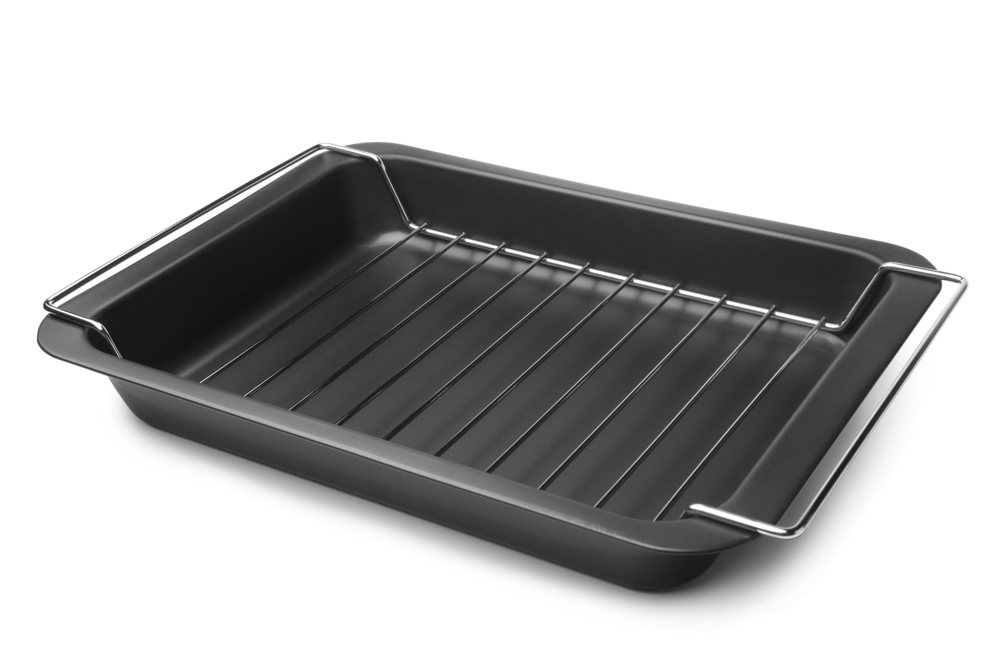
Roasting Pans
Roasting pans are the best option to replace a broiler pan. They have large sidewalls and usually come with a tray to catch the steak juice at the bottom. Many of them come with a lid, which helps keep the heat inside the tray and therefore ensures that your steak is cooked well from all sides.
Most roasting pans are either made of aluminum or stainless steel. You can use both of them safely inside an oven. Even if you are not looking to broil, I suggest you get one for cooking, because you can cook pretty much anything in them, be it meat or vegetables.
When using a roasting pan, keep in mind the following things:
- Cover it with the lid while broiling. If you don’t have a cover, apply aluminum foil at the top of the pan. If you forget to cover the pan, you will find that the steak will take a long time to cook, and you won’t get a juicy steak either.
- Preheat the oven. Heating the oven beforehand, as I suggested, lets the heating be uniform, and the metal pan can use it more effectively.
- Let the dish rest for a bit after you take it out from the oven. You can use the time to prepare the sauce that I talked about above. Letting it rest will give the steak a chance to distribute its juices uniformly.
- Roasting pans are better for large meats and chicken/fish. They are not so great for vegetables.
- Don’t poke the meat while it is broiling. When you poke the meat, you break the outer surface, holding moisture and juice inside the steak. Your steak will not be as flavorful without that juice.
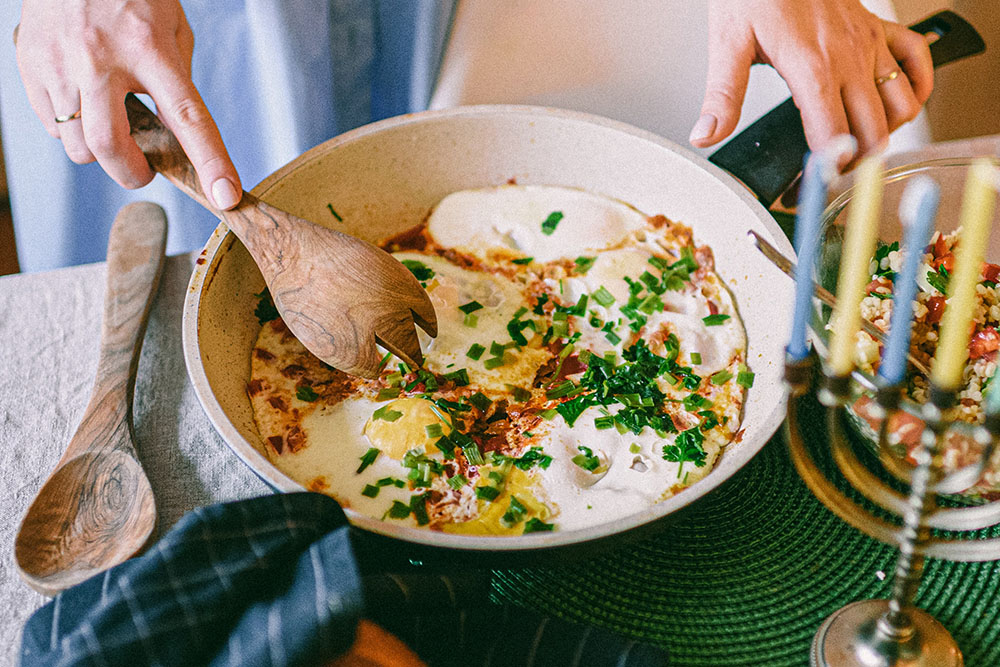
Cast Iron Pans
Cast iron has some very useful properties that make it perfect for cooking a steak. It’s an excellent conductor of heat, so your steak gets heated equally well from all sides.
Most people already have cast iron skillets, so, likely, you won’t have to go out and get one for yourself. If your cast iron pan does not have a lid, you can use the same trick that we used with the roasting pan: add an aluminum foil at the top.
Cast iron is the healthier option. If you season a cast-iron pan well, it will take up a lot less oil than aluminum or stainless steel. It’s basically like a non-stick material. That makes it not only healthy but easier to clean as well.
Baking Trays
Baking trays remind me of homemade cookies during the holiday season! Nostalgia aside, baking trays are also a good option when it comes to broiling stuff.
If you are looking at thin slices of meat or vegetables, baking trays are a good option. However, don’t try thicker meats because the tray doesn’t have the depth to handle the juices that will flow out of them.
Keep these things in mind when using a baking tray:
- Apply oil liberally: you are not supposed to broil in baking trays, so it’s no surprise that the meat sticks to the tray. Applying oil makes sure that the meat does not stick. If you don’t want to use too much oil, a non-stick foil will work just as well too.
- Place a cooling rack on top. You want the juices dripping out from the steak to get collected in the tray, so a cooling rack is a bit of an innovation that will do the job for you. If you lack a cooling rack, just apply a foil to the rack and poke some holes into it. It lets the juices drip onto the tray.
- Use heavier baking trays. Remember, the makers didn’t design the baking tray to broil. So, if you use one that’s made of light material, the material is bound to get warped at such high temperatures.
- If you can’t spend on a heavier tray, I suggest you get an inexpensive one that you can use once and then throw away, because it will surely not survive the heat. Don’t try to compromise and buy something that’s in the middle.
Broiling Without a Broiler Pan: Some Tips
Preheat
Preheating the oven ensures that whatever utensil you use can heat the steak from all sides evenly. If you don’t preheat, you run the risk of a steak that’s done well in some areas and rare in others.
Oil
Oiling the pan, tray, or whatever else you are using is key. These substitutes aren’t designed for broiling, so your steak will stick to them. By adding a bit of oil, you can avoid the sticky mess that is inevitable with these substitutes.
Spread Out Your Food
Let the steaks broil as far as possible from each other; they should not be touching at any point. If you don’t do this, some parts of the steak that overlap with each other are bound to remain less cooked.
Watch Closely
Don’t let the meat get charred. Keep the meat probe thermometer at the ready and often check, especially when you start getting that delicious smell around the oven.
Experiment
Each oven is unique. What works for me may not work for you. Try out a range of different temperatures to get the perfect seared look in your oven.
Gas Ovens
Be very careful with gas ovens because you don’t want the steak juices to spill on the gas flame and create a fire. Check your manual for the right way to place the tray.
Don’t Marinate Too Much
Oil-based marinades create a lot of juice, so tread lightly. You can season with spices like oregano, thyme, rosemary, and black pepper instead.
Broiling Pan Substitutes: What Does Not Work
We talked about broiling pan substitutes like roasting pans and cast-iron skillets, but there are some utensils that you should never use for broiling.
Glass dishes or casseroles are not meant for broiling. The high temperature used in broiling is likely to create cracks and can even cause the utensil to disintegrate completely.
Metal utensils that have a wooden or plastic handle are also a strict no-no. You can use ceramic containers, but make sure that they are designed to handle the high heat of broiling. Otherwise, you should avoid them as well.
Conclusion
When you live alone, every little memory of home brings you happiness. For me, there is nothing that reminds me more of my mom than a well-cooked steak.
I am also watching my weight a bit, and when I came to know that broiling gets rid of most of the fat in the steak, it just added a cherry on top of the delicious flavor that broiling gave me!
I hope you enjoyed the recipe, tips, and tricks that I have shared here to broil a steak without a broiler pan. Do leave your questions, comments, and suggestions in the comments box below. As always, happy cooking!